- How to sign up?
- How to log in?
- How to access 4shared files via FTP?
- How to get full access to 4shared via FTP?
- How to access 4shared files via FTPS?
- How to get full access to 4shared via FTPS?
- What is WebDav?
- How to set up WebDAV in Microsoft Windows XP?
- How to set up WebDAV in Microsoft Windows Vista?
- How to set up WebDAV in Microsoft Windows 8/8.1?
- How to connect to 4shared WebDAV server in Ubuntu 11.10 (the Unity shell interface)?
- How to restore/reset your account password?
- How to change 4shared account password?
- How to change your 4shared username?
How to sign up?
You can either sign up to 4shared in one click via your Facebook, Twitter or Google account, or use your own email address* and password.
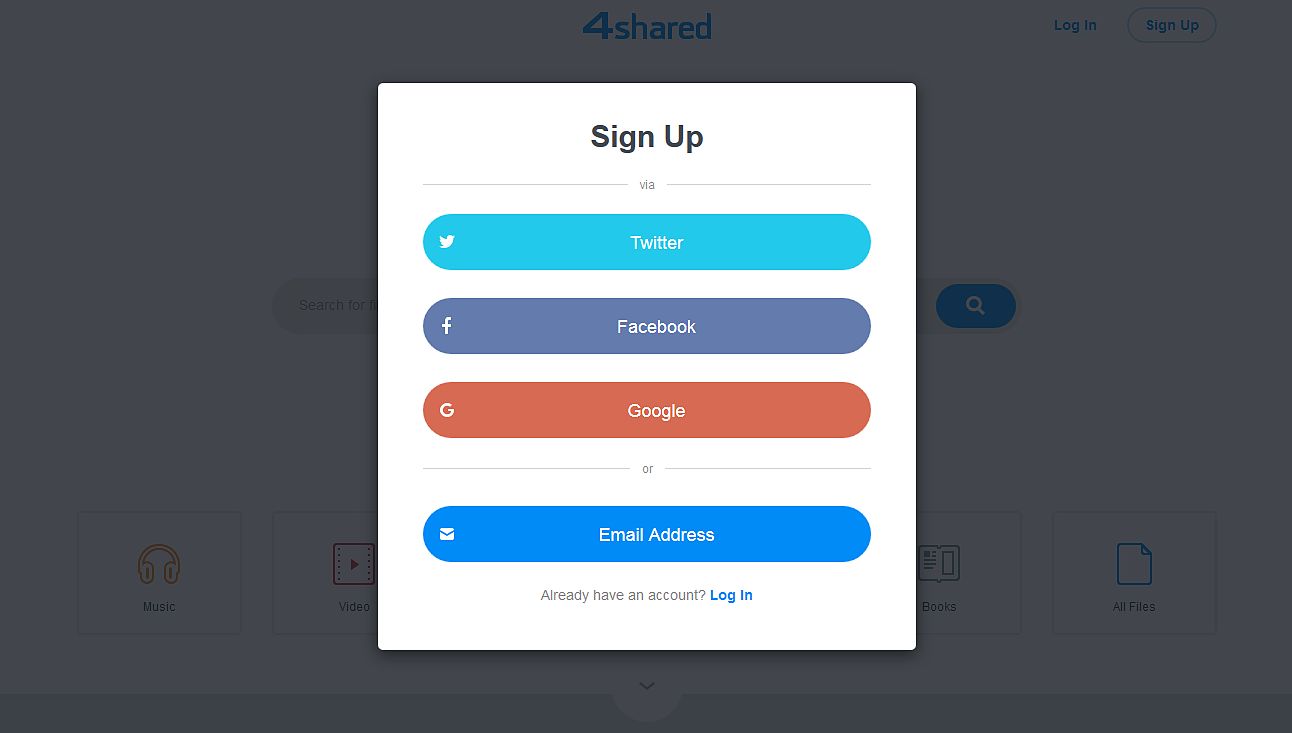 *Your account registration at 4shared isn’t complete until you verify your email address.
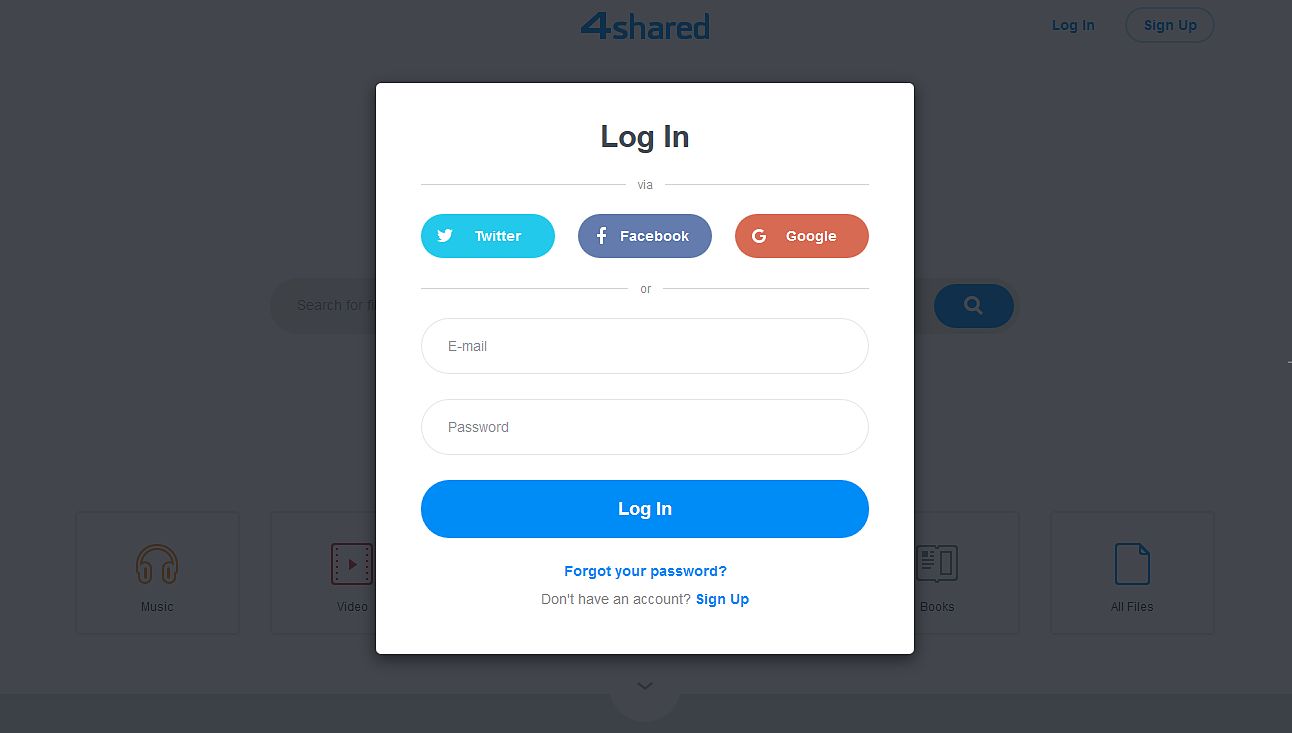
How to log in?
Use your email and password to log in your 4shared account or sign in via your account in Facebook, Twitter and Google.
How to access 4shared files via FTP?
4shared Premium users can access their accounts via FTP (File Transfer Protocol).
This method is also handy if you don't currently use 4shared Desktop or access 4shared.com — the only thing required is a default Internet browser.
To access files with the browser quickly:
- Enter ftp.4shared.com in the address bar of the browser and click "Enter."
- Enter your 4shared login and password in the required fields.
- You'll see the contents of your 4shared account. You can browse the folders and download any of them.
How to get full access to 4shared via FTP?
To set up the full access to 4shared via FTP:
- Enter ftp.4shared.com as "Host."
- Enter your 4shared login and password in the required fields.
- You can now upload (use the drag and drop feature), download, copy, move and remove any of your files.
How to access 4shared files via FTPS?
4shared Premium users can access their accounts via FTPS (Secure File Transfer Protocol).
FTPS is a convenient network protocol, which enables the user to access, transfer and manage files over a completely secure data stream.
To quickly access files via the browser:
- Enter ftps://ftps.4shared.com in the address bar of the browser and press "Enter."
- Enter your 4shared login and password in the required fields.
- You'll see the contents of your 4shared account. You can now browse the folders and download and manage any of them.
How to get full access to 4shared via FTPS?
To get full FTPS access to 4shared, you should install an FTP/FTPS client, such as FileZilla.
What is WebDav?
WebDAV is a convenient way to store and retrieve files between your computer and your 4shared account, using the built-in functions in the Microsoft Windows Explorer.
Our WebDAV address is: https://webdav.4shared.com/
How to set up WebDAV in Microsoft Windows XP?
Windows XP 64 bit is not supported; Windows XP 32 bit needs a Software Update for Web Folders (KB907306)
- Click Start and select My Computer.
- Go to Tools.
- Select Map Network Drive from the list.
- Click Sign up for online storage or Connect to a network server at the bottom of the window and click Next.
- Select Choose another network location and click Next.
- Type https://webdav.4shared.com/ in the address field.
- Enter your 4shared account login and password, then click Next.
- Click Finish.
How to set up WebDAV in Microsoft Windows Vista?
To set up WebDAV access to 4shared in Windows Vista:
- Open the Start menu and right-click Computer.
- Select Map Network Drive from the list of options.
- Select Connect to a Web site that you can use to store your documents and pictures and click Next.
- Select Choose a custom network location and click Next.
- Type https://webdav.4shared.com/ in the address field and click Next.
- Enter username and password in the opened dialog window, click Next and then Finish.
- Open My Network Places and double-click the network location that you have just created.
- Make sure that your folders and files are up-to-date by selecting the Refresh option in the Windows context-menu.
How to set up WebDAV in Microsoft Windows 8/8.1?
To set up WebDAV access to 4shared in Windows 8.1:
- Open the Start menu and right-click This PC.
- Select Map Network Drive from the list of options.
- Select Connect to a Web site that you can use to store your documents and pictures and click Next.
- Select Choose a custom network location and click Next.
- Type https://webdav.4shared.com/ in the address field and click Next.
- Enter username and password in the opened dialog window and click Next.
- Type in the preferable network drive name and click Finish.
How to connect to 4shared WebDAV server in Ubuntu 11.10 (the Unity shell interface)?
- Start Nautilus (open your home folder).
- Go to the global menu and select File, and then Connect to Server.
- Enter webdav.4shared.com to the Server field and select "Secure WebDAV (https)" as the Type.
- Fill in your username and password and click Connect.
- A new Nautilus window representing your 4shared account should pop up.
How to restore/reset your account password?
If you forgot your 4shared account password, click Forgot Password? in the web log-in window or click here to access the Reset Password page. Enter your account e-mail at the opened page and click Send. You will receive the instructions how to change your password on the entered e-mail address.
Need more information? Please visit the Forgot Password section in 4shared Knowledge Base.How to change 4shared account password?
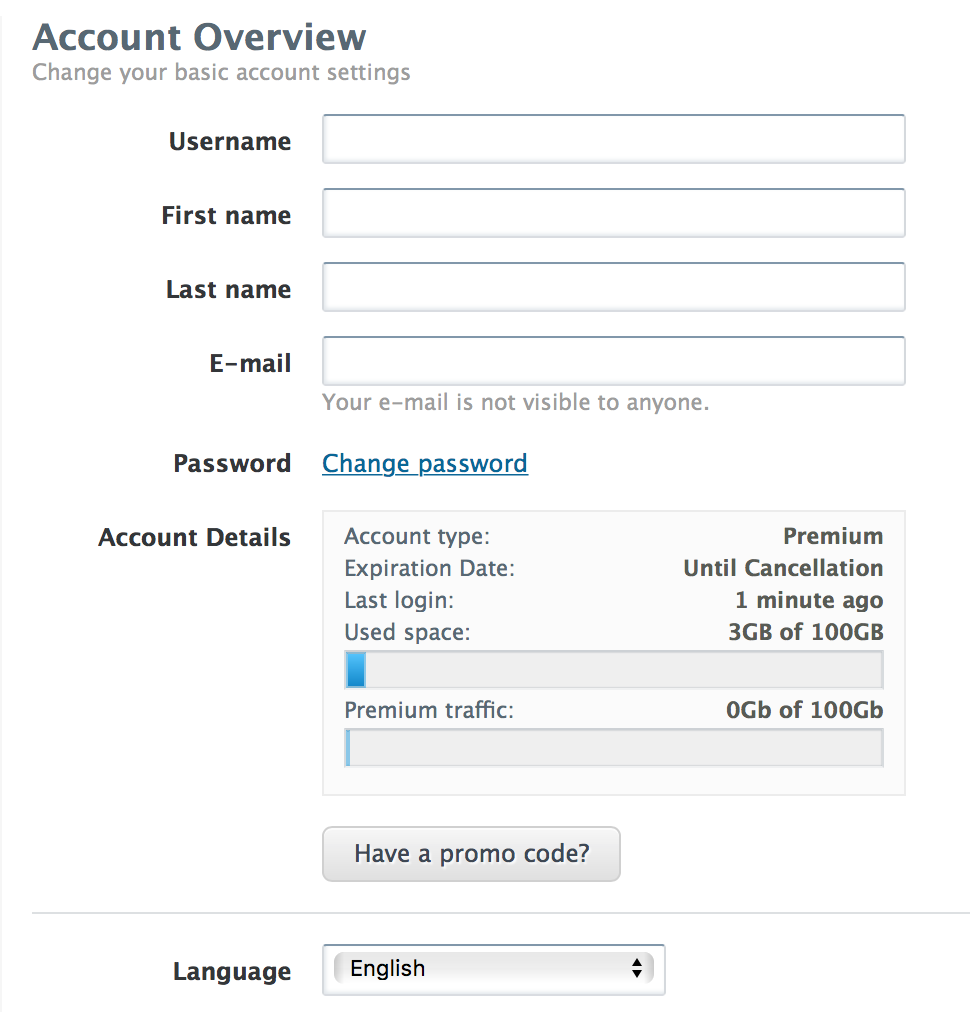
Click the "Settings" icon in your 4shared web account, select Settings in the list of menu options. In the opened Account Overview tab, click Change Password, then enter the old password, the new password and confirm the new password in the corresponding fields of the opened pop-up window. Click OK to save changes.

How to change your 4shared username?
Click the "Settings" icon in your 4shared web account and select Settings in the list of menu options. You'll find your 4shared username in the Account Overview tab. Enter the new username in the corresponding fields and click the Save changes button.